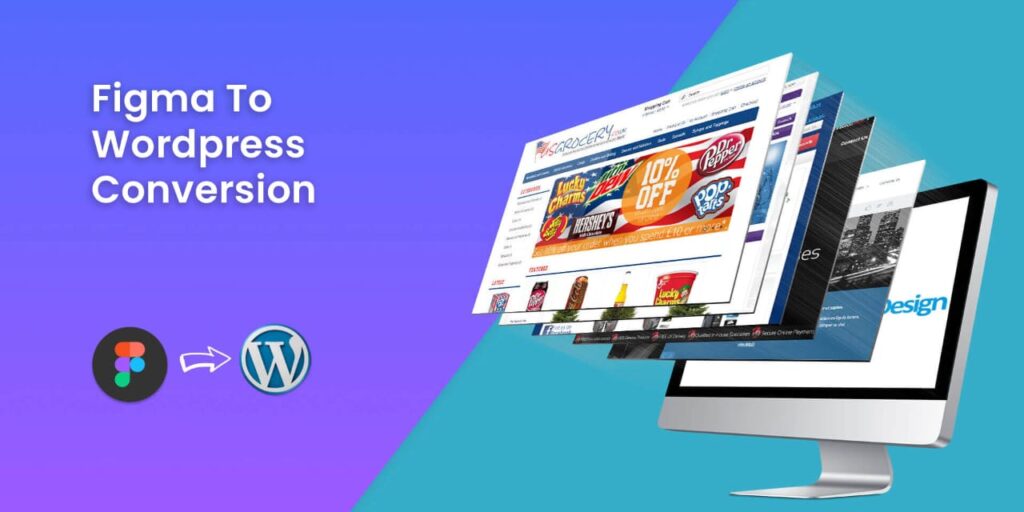
If you’re a web designer or developer, you’re probably familiar with the design tool Figma and the content management system WordPress. Both tools are incredibly powerful in their respective domains, and often, you may find yourself needing to bridge the gap between your Figma designs and your WordPress website. In this article, we’ll walk you through an easy 3-step method to seamlessly convert your Figma designs into a functional WordPress website. By the end of this guide, you’ll clearly Convert Figma to WordPress how to maintain design integrity while bringing your vision to life on the web.
Introduction: The Challenge of Translating Design to the Web
Converting Figma designs to a live WordPress site might seem like a daunting task. Design elements such as fonts, colors, spacing, and alignments need to be meticulously recreated on the web, while maintaining a consistent look and feel. Additionally, ensuring that the website is responsive and optimized for various devices adds another layer of complexity.
Step 1: Exporting Assets from Figma
The first crucial step is to extract all the necessary assets from your Figma design. This includes images, icons, fonts, and any other graphical elements used in your design. Follow these sub-steps to ensure a smooth asset export process:
Substep 1.1: Organize Your Figma File
Before exporting, make sure your Figma file is well-organized. Use proper naming conventions for layers and groups. This organization will save you time during the conversion process.
Substep 1.2: Export Images and Icons
Select the images and icons used in your design and export them in the appropriate file format (PNG, JPEG, SVG). Ensure that the exported assets are optimized for the web to maintain a balance between quality and loading speed.
Substep 1.3: Export Fonts
If you’re using custom fonts in your Figma design, export them and convert them into web-friendly formats like WOFF or WOFF2. You can use online tools to perform this conversion.
Step 2: Setting Up Your WordPress Environment
With your Figma assets ready, it’s time to set up your WordPress environment. This step involves choosing a WordPress theme, installing necessary plugins, and preparing the foundation for your design:
Substep 2.1: Choose a WordPress Theme
Select a WordPress theme that aligns with your Figma design’s overall look and structure. This will provide a starting point that closely resembles your design, saving you from building everything from scratch.
Substep 2.2: Install Required Plugins
Depending on the complexity of your design, you might need plugins for specific functionalities like sliders, contact forms, or e-commerce features. Install and configure these plugins to enhance your website’s functionality.
Substep 2.3: Create a Child Theme (Optional but Recommended)
To maintain future-proofing and customization options, consider creating a child theme based on your chosen WordPress theme. This ensures that your design changes won’t be lost during theme updates.
Step 3: Bringing Your Design to WordPress
This is where your Figma design starts coming to life on your WordPress website. Pay attention to detail and ensure a pixel-perfect conversion:
Substep 3.1: Build the Homepage
Use the elements, assets, and layout from your Figma design to construct the homepage of your WordPress site. Make use of page builders or custom HTML/CSS to achieve the desired look.
Substep 3.2: Create Inner Pages
Extend the same level of detail and design consistency to inner pages of your website. Ensure that navigation remains intuitive and that design elements remain cohesive.
Substep 3.3: Implement Responsiveness
Test your website on various devices to ensure responsiveness. Make adjustments as needed to guarantee that your design adapts gracefully to different screen sizes.
Conclusion: From Vision to Reality
Converting Figma designs to a functional WordPress website might seem like a complex process, but by following this easy 3-step method, you can bridge the gap between wordpress design and development. Remember that attention to detail, consistency, and responsiveness are key to a successful conversion. As you apply these methods, you’ll find that your design vision transforms into a fully operational and visually stunning website.
So, the next time you’re faced with the challenge of converting Figma to WordPress, remember the steps outlined in this article. Your design prowess combined with the power of WordPress will allow you to create wordpress websites that are not only aesthetically pleasing but also highly functional and user-friendly.
In the words of Steve Jobs, “Design is not just what it looks like and feels like. Design is how it works.” With the knowledge gained from this guide, you’re now equipped to make your designs work seamlessly in the digital realm.